Table of Contents
Inserting Images
Images are great for product screenshots, step-by-step instructions, and breaking up a long article. Here's how to insert images and make the most outta them.
Updated
by River Sloane
Images are great for product screenshots, step-by-step instructions, and breaking up a long article. Here's how to insert images and make the most outta them 📸
We accept most image formats like .png, .jpg, .gif, .svg, and .webp. Just make sure it's under 5Mb 🙌
Inserting an Image

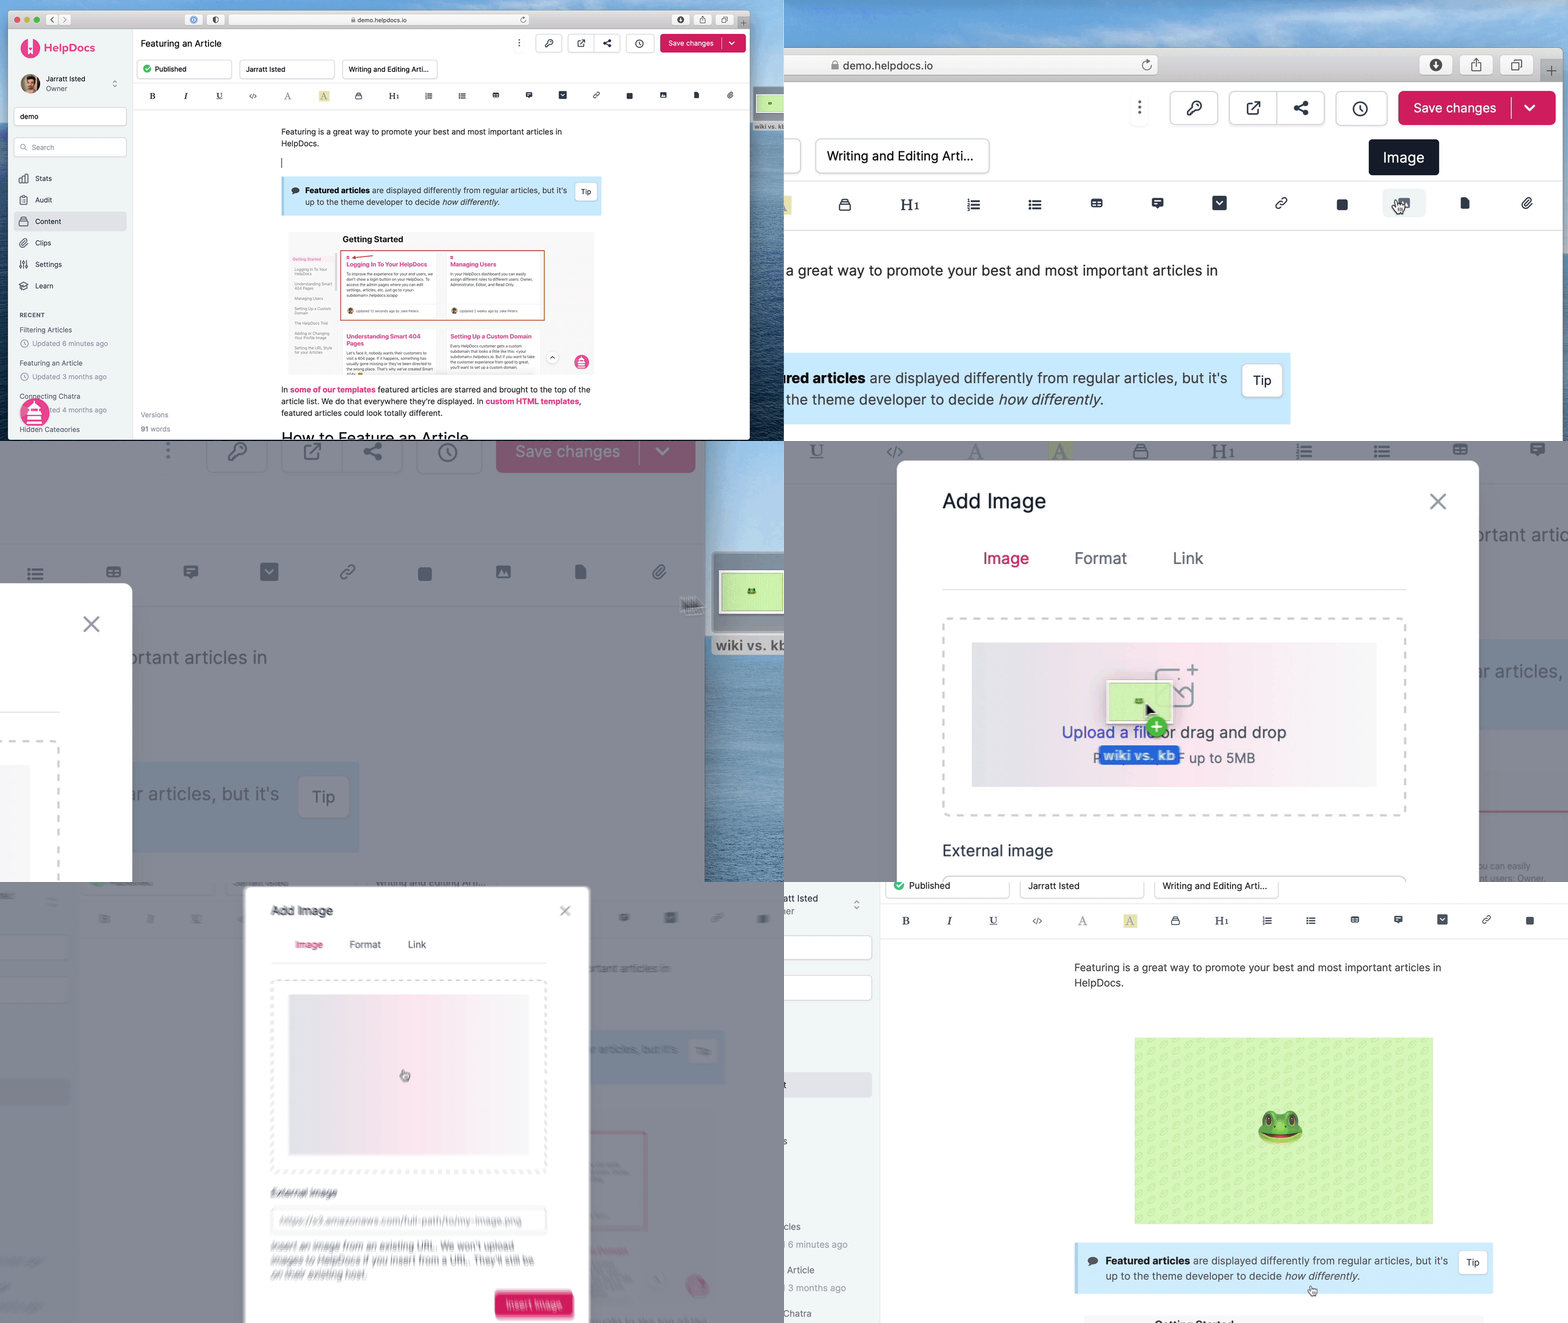
- Head to the article editor
- In the toolbar press the Image button
- Drag and drop an image into the dotted area
- Click the dotted area
- Paste an image URL hosted somewhere else
- You're done!
🔥 Dropping it like it's hot? Just drop an image file onto the article editor and it'll upload automatically.
Customize your images even more inside your knowledge base with our image tools.
Understanding Image Labels
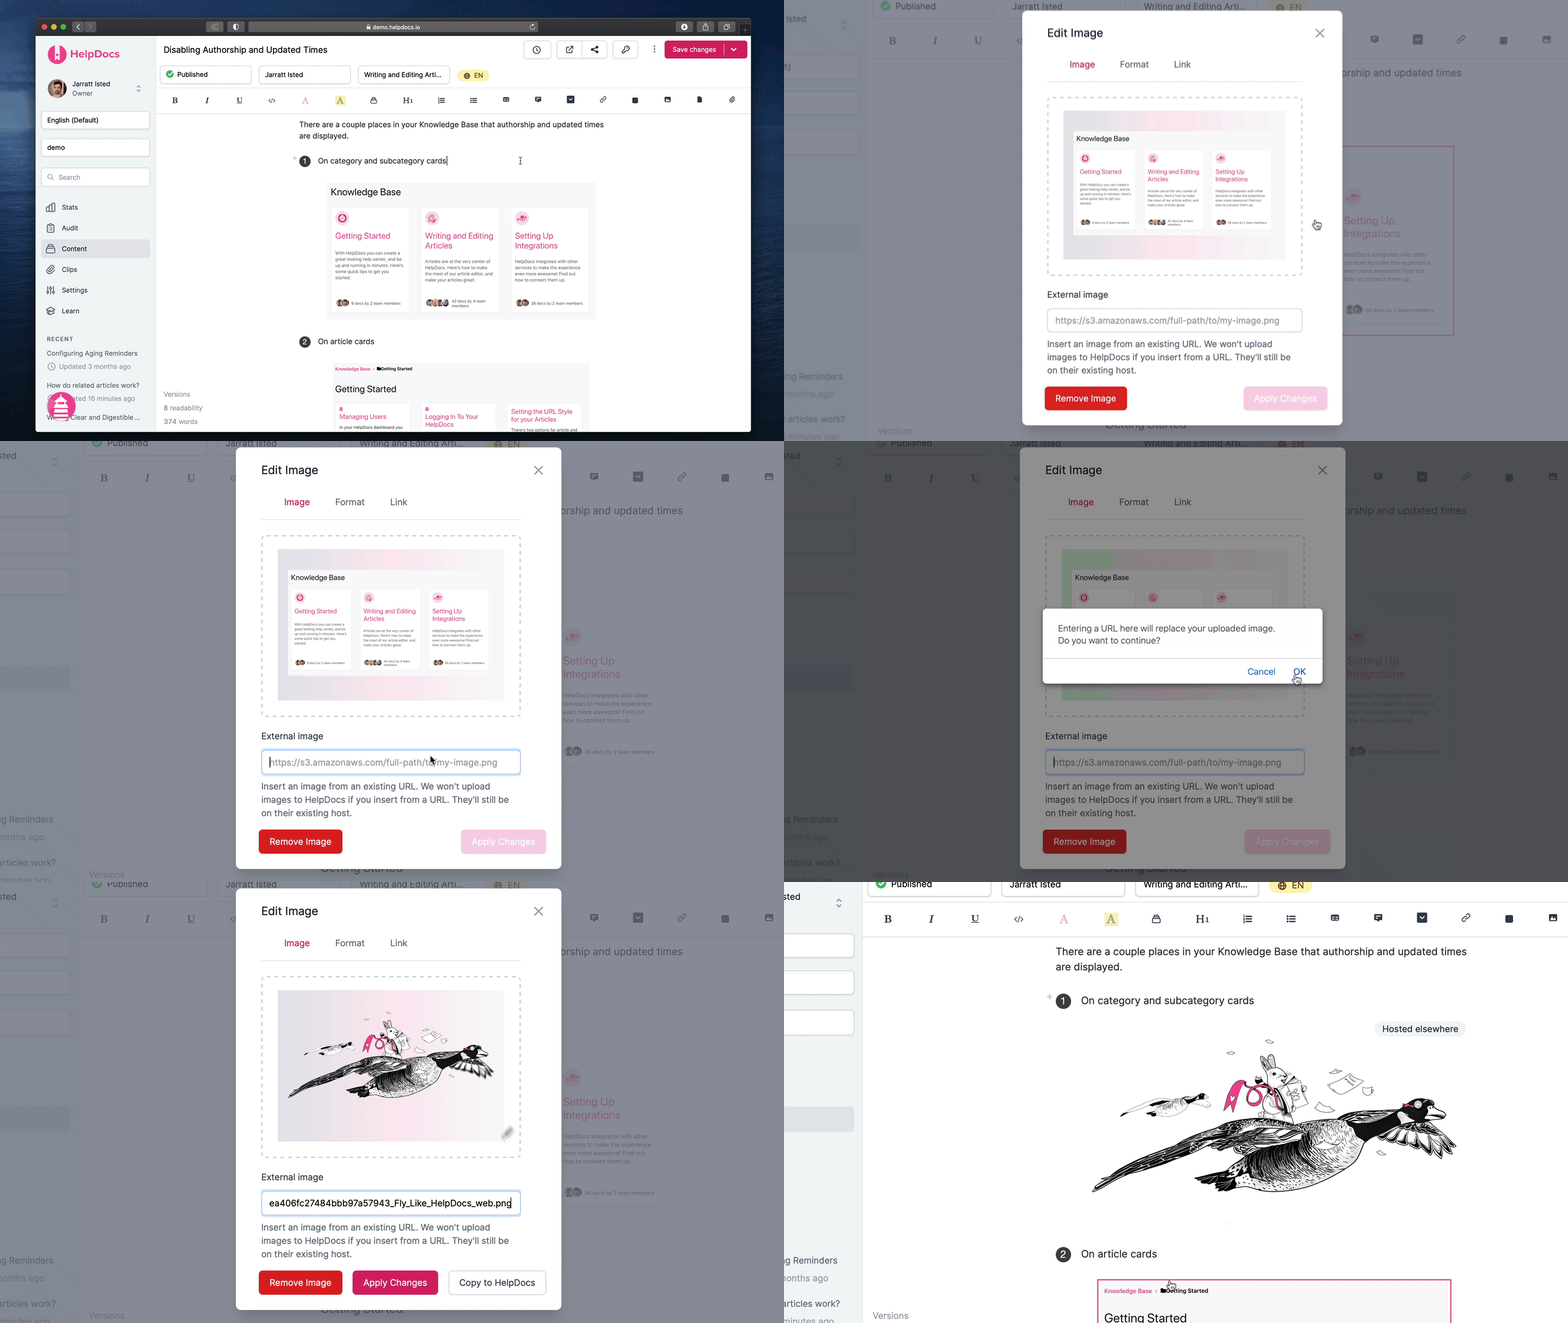
If your image is hosted somewhere else (e.g. Dropbox, Google Drive, or your own company CDN) you'll see a label next to the image named Hosted elsewhere. Clicking the label will open the image where it's hosted so you don't have to guess.

Images from an outside source might disappear 👻 or change–so we recommend copying them to HelpDocs.
What did you think of this doc?
Article Backups, Revisions, and Versioning