Table of Contents
Finding CSS Selectors in Your Browser
The easiest way to customize your HelpDocs is with Custom CSS. Here's a guide on how to target elements on your knowledge base and customize them to match your brand.
One of the awesome things with HelpDocs is that it's just so customizable and getting it to fit in with your brand is a piece of cake. The easiest way to do this is to use Custom CSS. But getting CSS to work can be tricky, particularly if you're not a developer.
Here's a guide on how to target elements on your knowledge base and customize them to match your brand.
Finding the Developer Console in Your Browser
The very first thing you'll need to do is find the developer console in your browser.
Don't worry—there's nothing to be scared about here. The developer console is an easy way to view the elements of a page and edit them live without actually changing the code.
With the console, we'll just want to view the CSS selectors we've added, so you can effectively target them and change the way your knowledge base looks.
Chrome
- Click the Chrome Menu button in the top right corner This'll look like either a vertical ellipsis (if you're super smart and keep your Chrome up to date) or an arrow of increasing redness (if you're like me and you haven't closed Chrome this year)
- Hover over More Tools
- Click Developer Tools
You can also use your keyboard using these shortcuts:
- Mac: Use
Ctrl+Cmd+I - Windows:
F12, Ctrl+Shift+I
Safari
- Click Safari > Preferences in the top menu bar
- In the Advanced tab, tick Show Develop menu in menu bar
- In the top menu bar, you'll see a new menu named Develop
- Click Develop > Show Web Inspector
You can also use your keyboard using this shortcut:
- Mac: Use
Ctrl+⌥+I
Microsoft Edge
- Press F12 on your keyboard
- Click DOM Explorer
You can also use your keyboard using these shortcuts:
- Windows:
Ctrl+Shift+I
First, enable Inspections by entering about:flags in the URL bar, then tick Show "View Source" and "Inspect Element" in the context menu. Then, right click and press Inspect Element to view the CSS selectors for that element.
Internet Explorer
- In the top menu bar, click Tools > Developer Tools
You can also use your keyboard using these shortcuts:
- Windows:
F12
Firefox
- In the top menu, click Tools > Web Developer > Inspector
You can also use your keyboard using these shortcuts:
- Mac: Use
Ctrl+Opt+I - Windows:
Ctrl+Shift+I
Opera
- On Mac
- In the top menu bar, click Page > Developer Tools > Opera Dragonfly
- On Windows
- In the top menu bar, click Tools > Advanced > Opera Dragonfly
You can also use your keyboard using these shortcuts:
- Mac: Use
Ctrl+Opt+I - Windows:
Ctrl+Shift+I
Finding the Correct CSS Selectors
Fantastic! So by now you should be able to bring up your developer console by either using the menu or by inspecting an element on the page. Good job so far. You're well on your way to being able to customize your HelpDocs 👍
Now, let's go through an example. I'll be using the Chrome DevTools to change all link colors on articles from pink to purple.
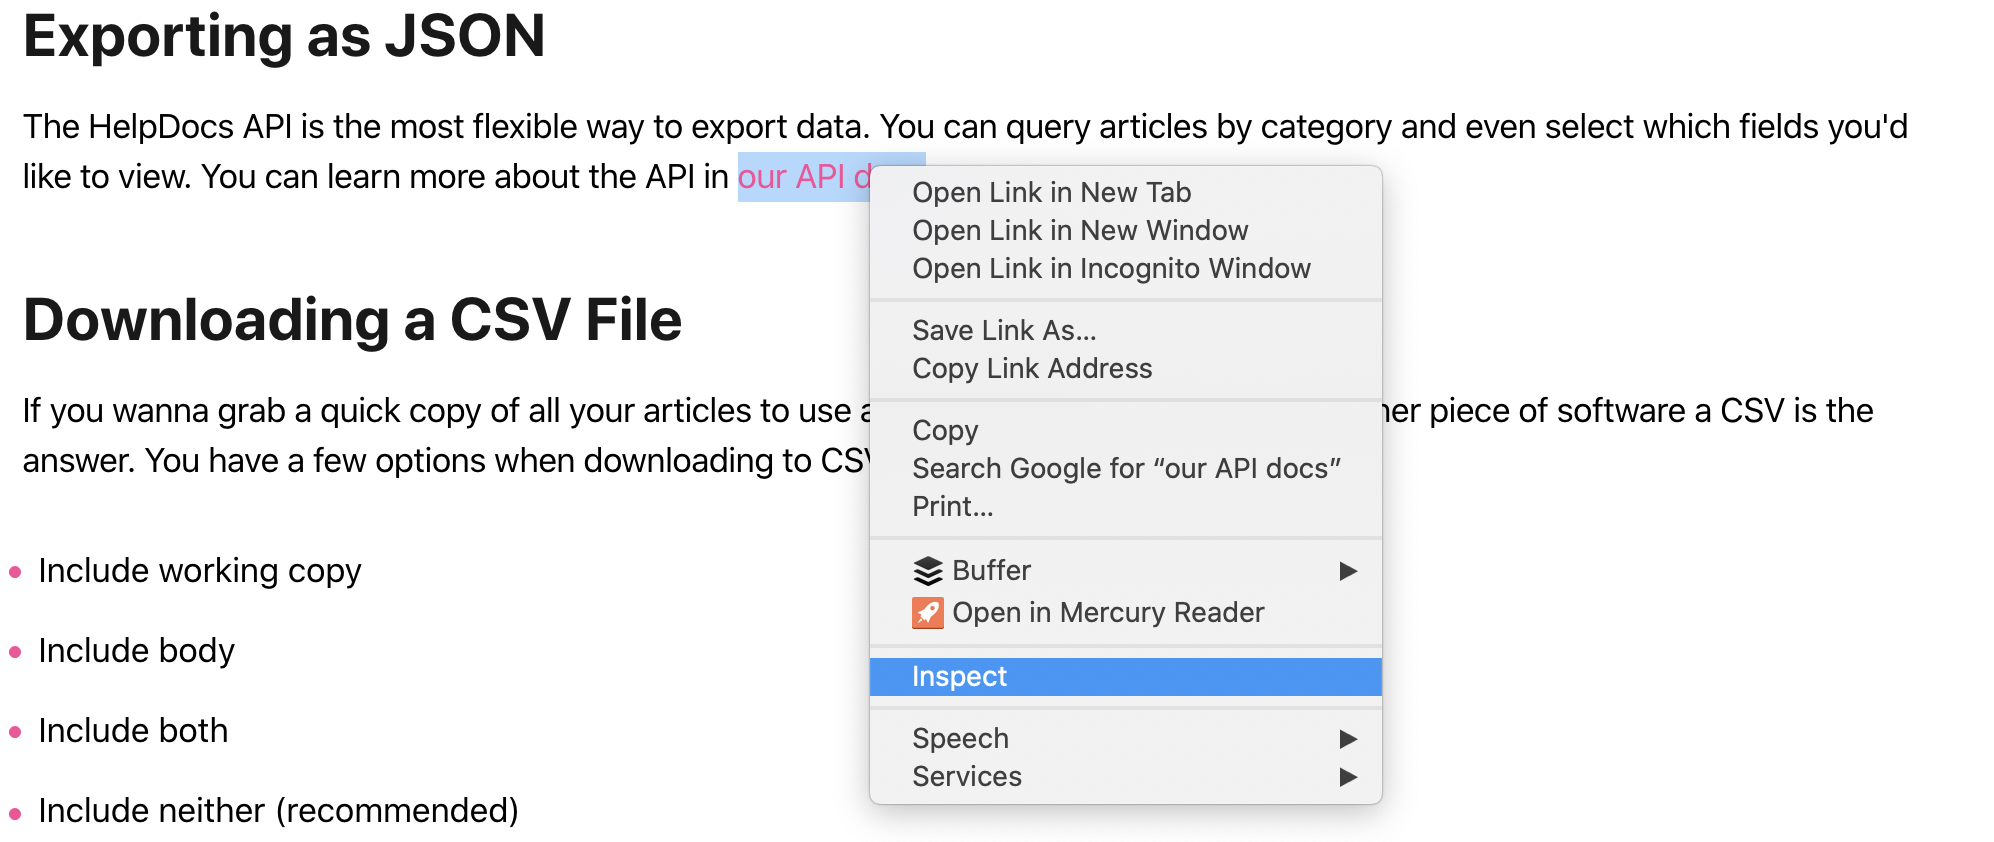
- First, I'm going to open an article with a link in. Then, I'll Right Click on top of the element and click Inspect
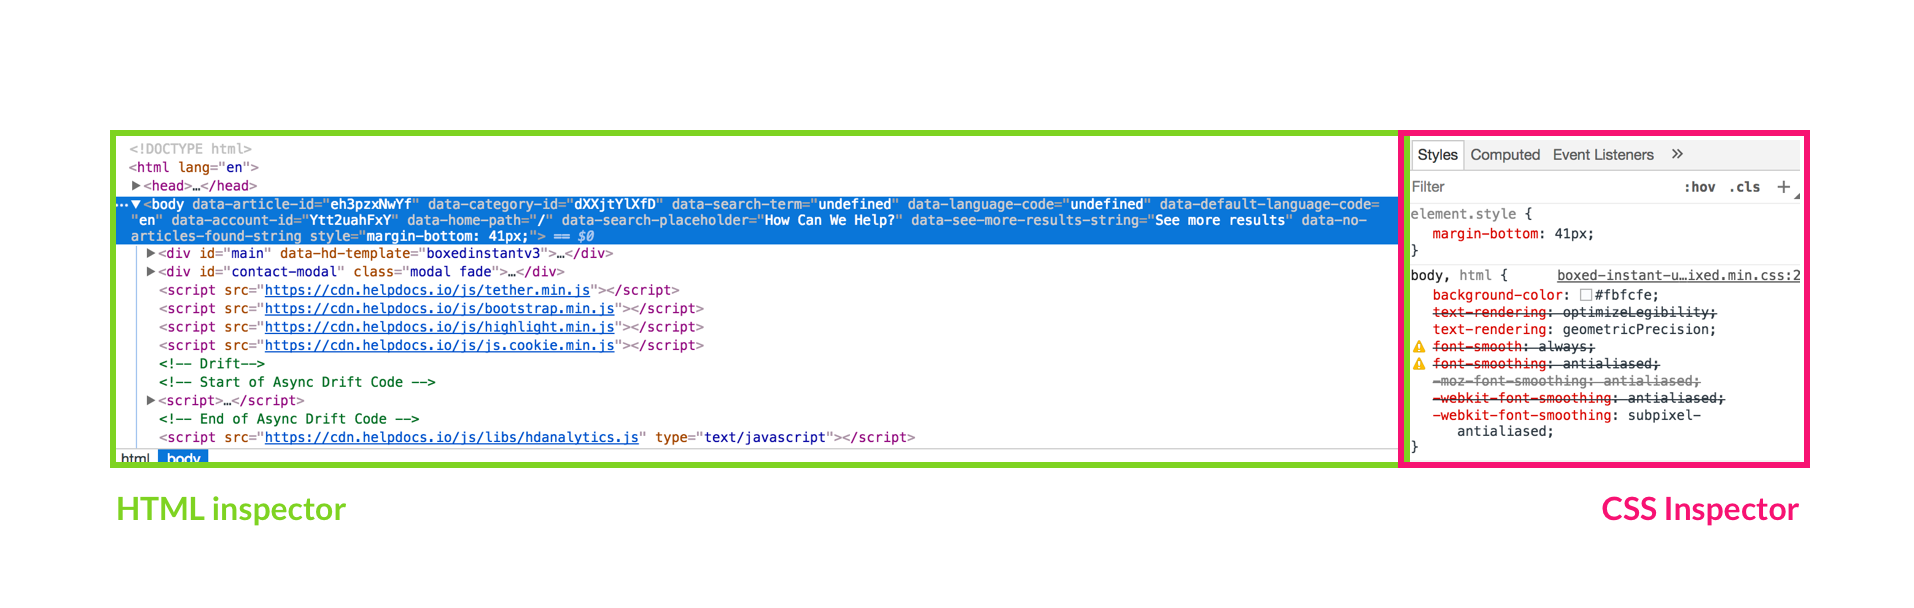
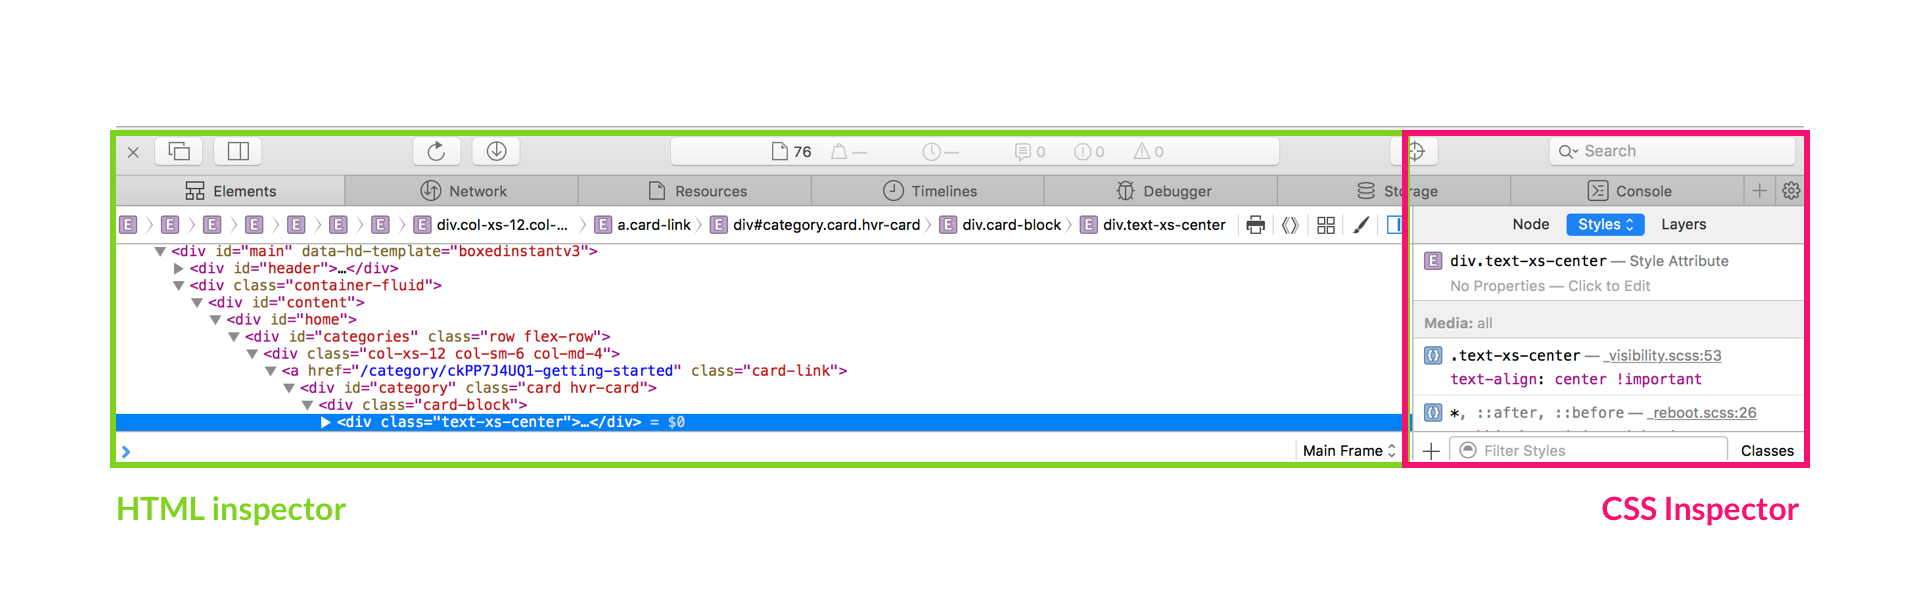
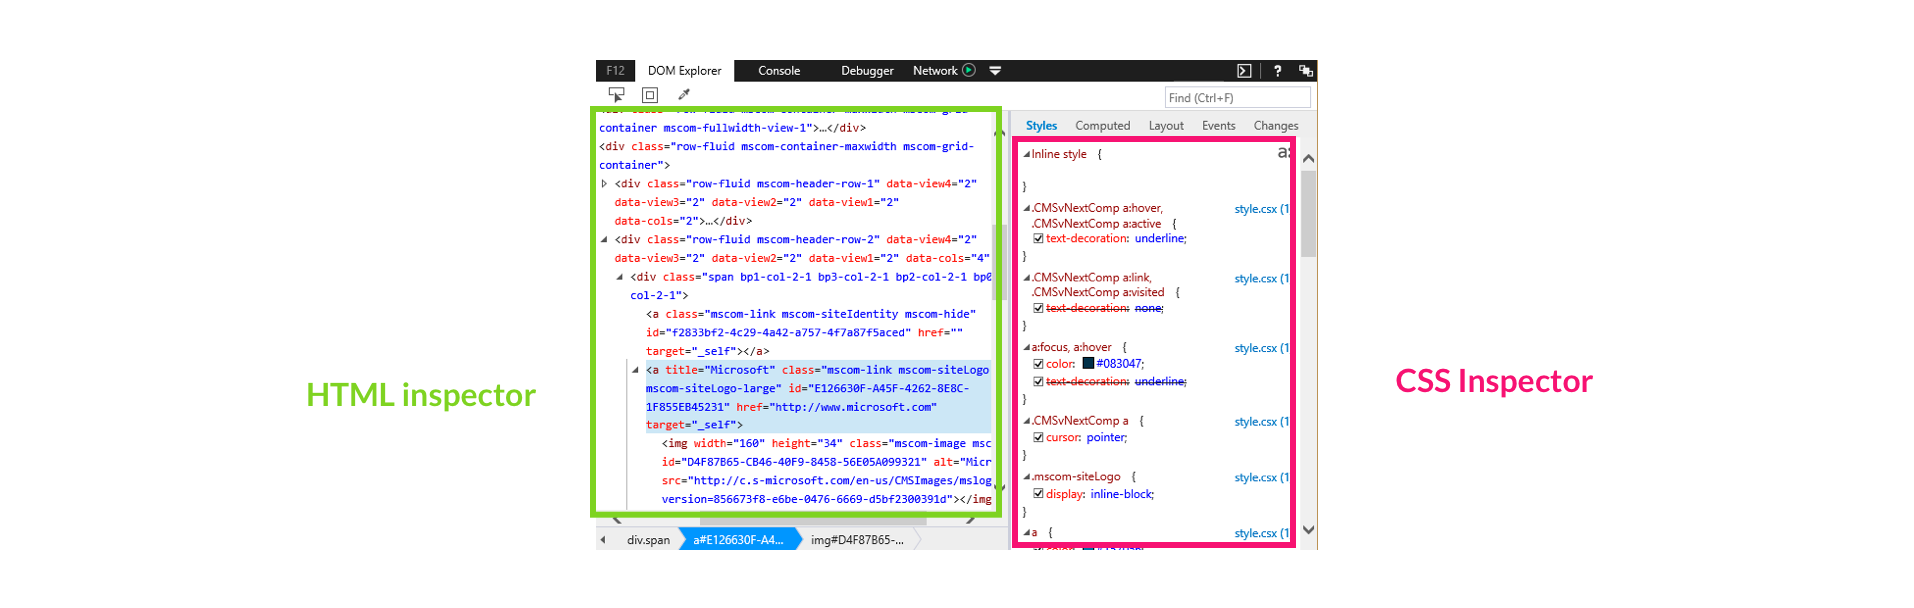
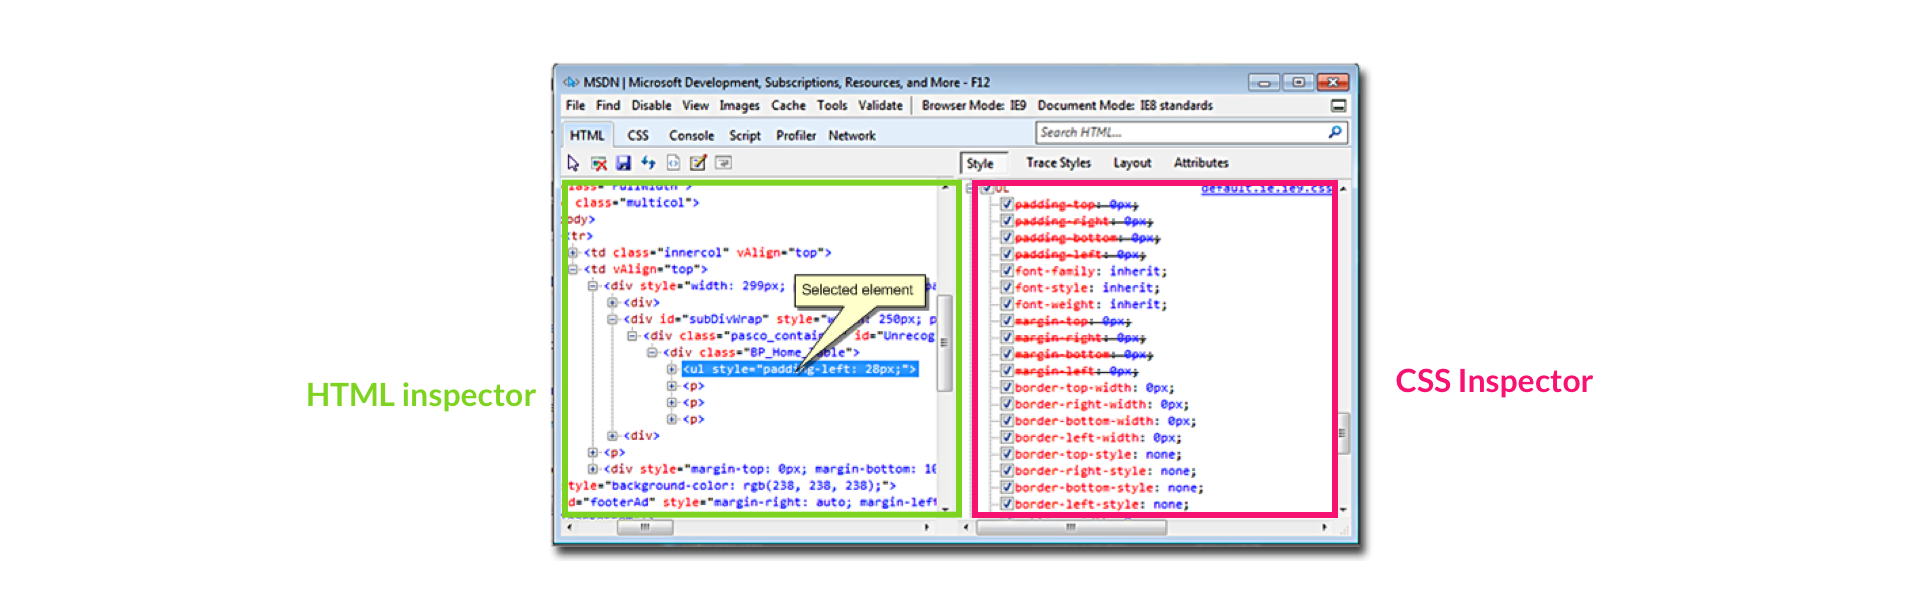
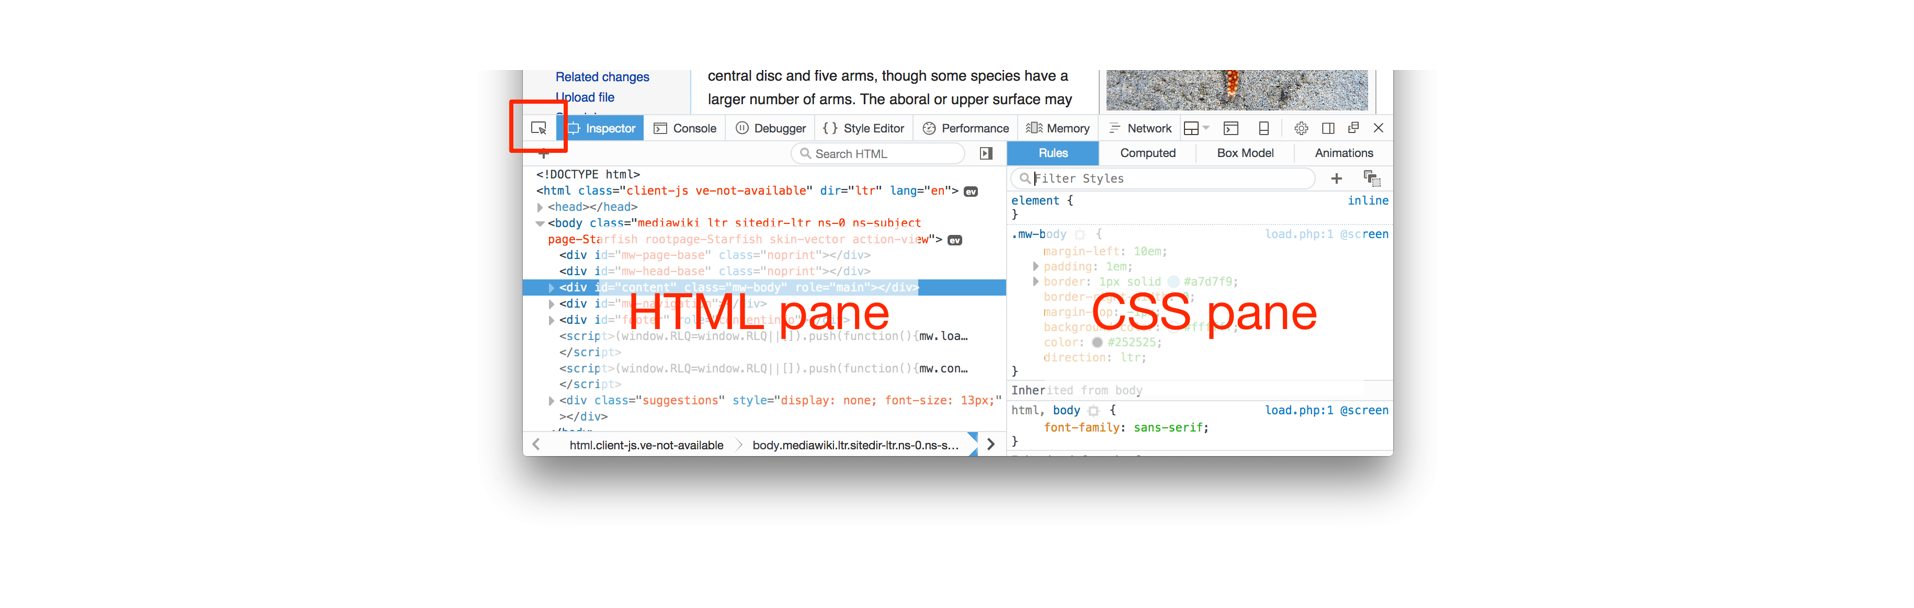
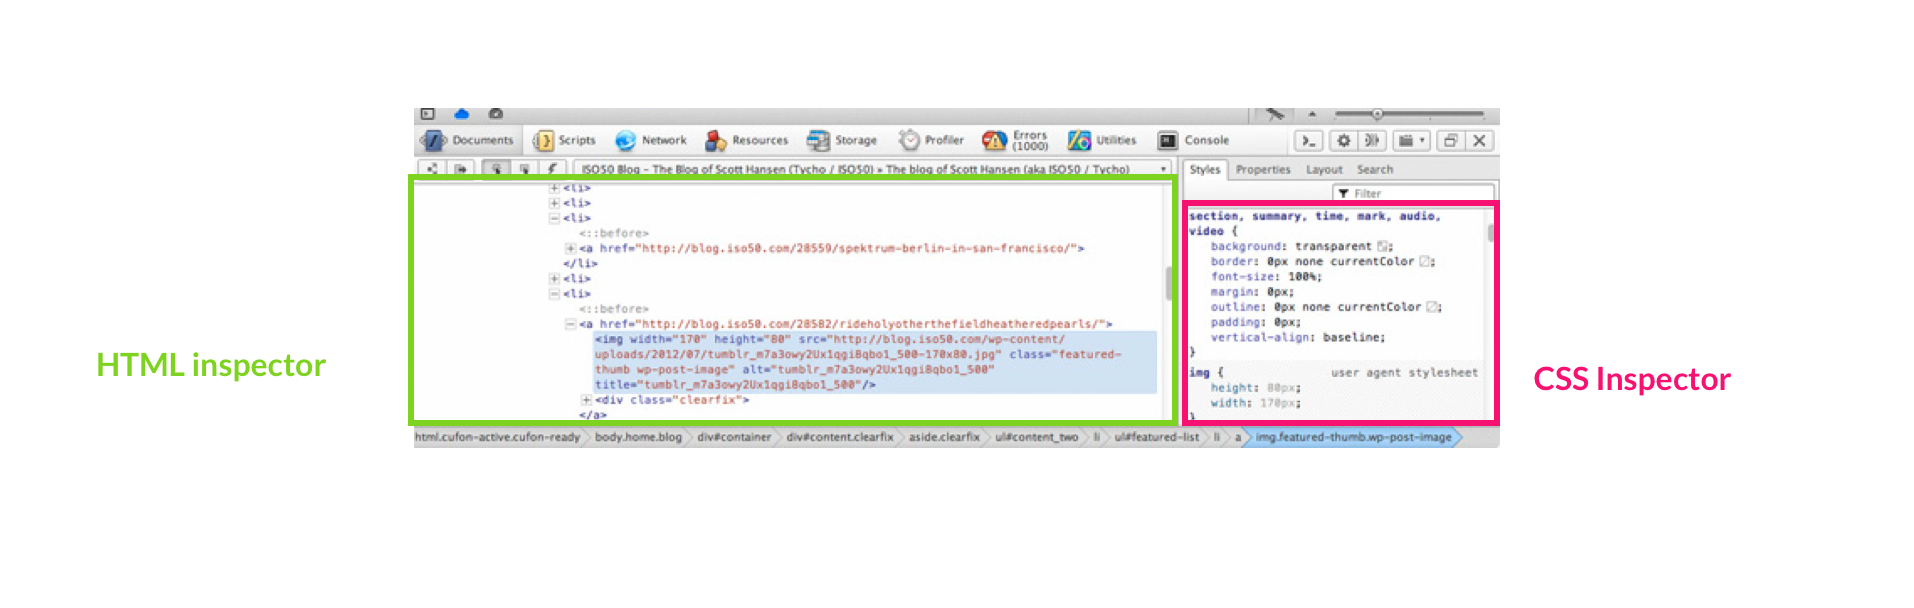
- My console will pop up with the selected element information. On the left is the HTML and on the right is the CSS. I'll need to look at the CSS.
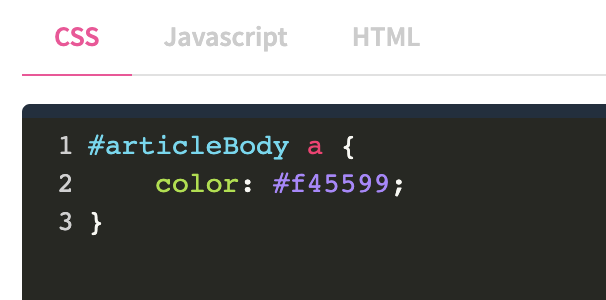
Looks like I've found the CSS Selectors. I can tell because the console shows me some CSS which looks pretty familiar (color: #f44599;). The box next to it indicates a pink color which is exactly the same as my link color. It also shows#articleBody awhich can translated as div > link
- Now I've found the element I'm looking for I'll copy the information in bold so I can use it in my own CSS in HelpDocs. I won't copy the link in the top right because it's not part of the CSS
#articleBody a {
    color: #f45599;
} - Now it's time to head to HelpDocs. I'll go to Settings > Code > Custom CSS and paste in the CSS I just found
- Phew, I'm almost there! Time to change my link color (you can use this tool to find a color). I'm going for
#721DFE, a nice light purple. I'll simply replace the old color with my new one
- I'll hit Save Changes and now my link colors are all purple instead of pink! 🎉
That's pretty much it. For more advanced tutorials on using CSS head over to Good luck and have fun customizing your HelpDocs! 👩🎨
What did you think of this doc?
Creating a Knowledge Base from Scratch
Clearing the Cache in Your Browser