Want certain docs visible to certain people only? That's exactly what Permission Groups are for. This lets you limit your content using different groups that you create in your dashboard or via our API.
What are Permission Groups?
Permission Groups control who can access specific content in your Knowledge Base. You set boundaries around your docs so only the right people can view them.
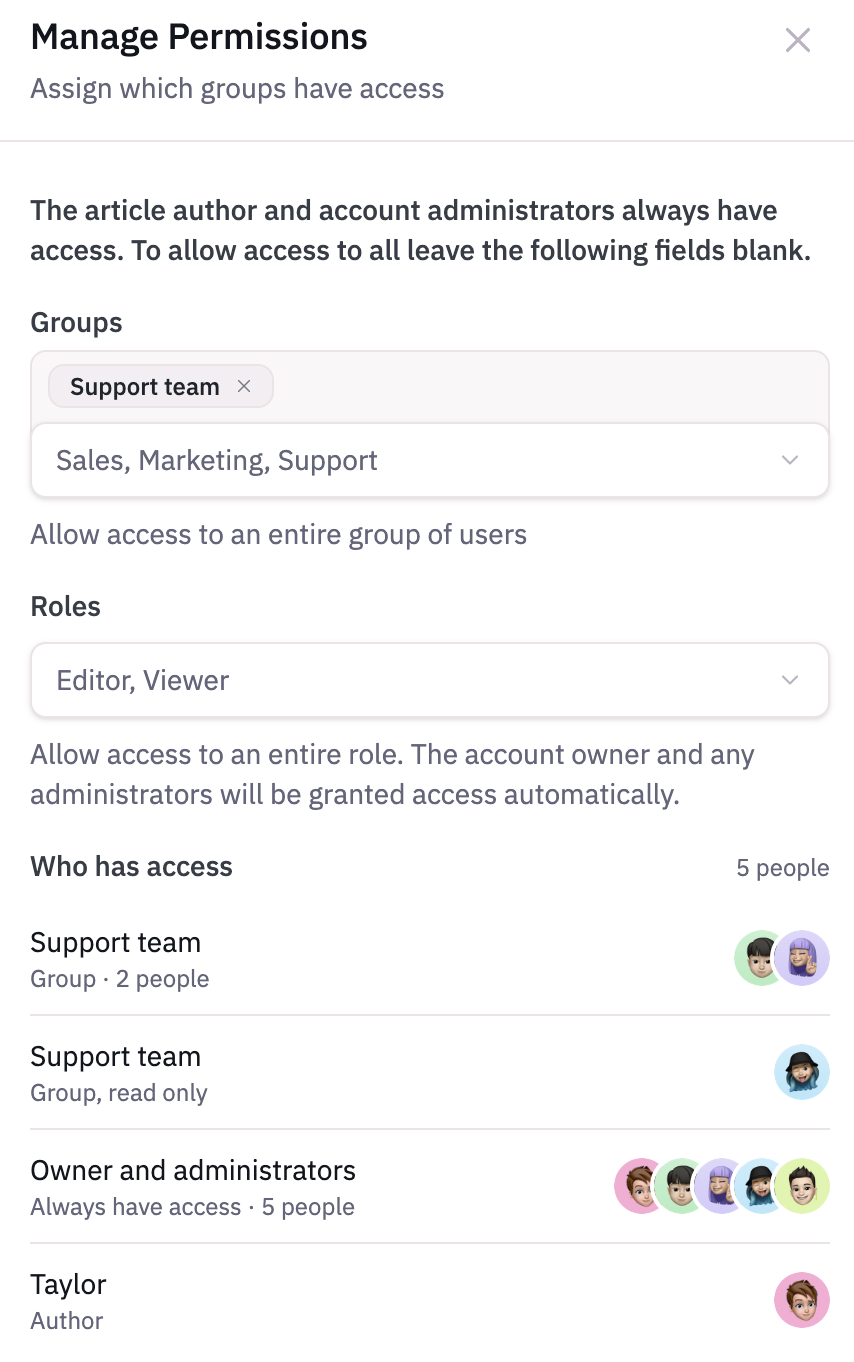
By default every published article is visible to everyone who can see your Knowledge Base. Once you add groups or roles to an article, only those people can view it.
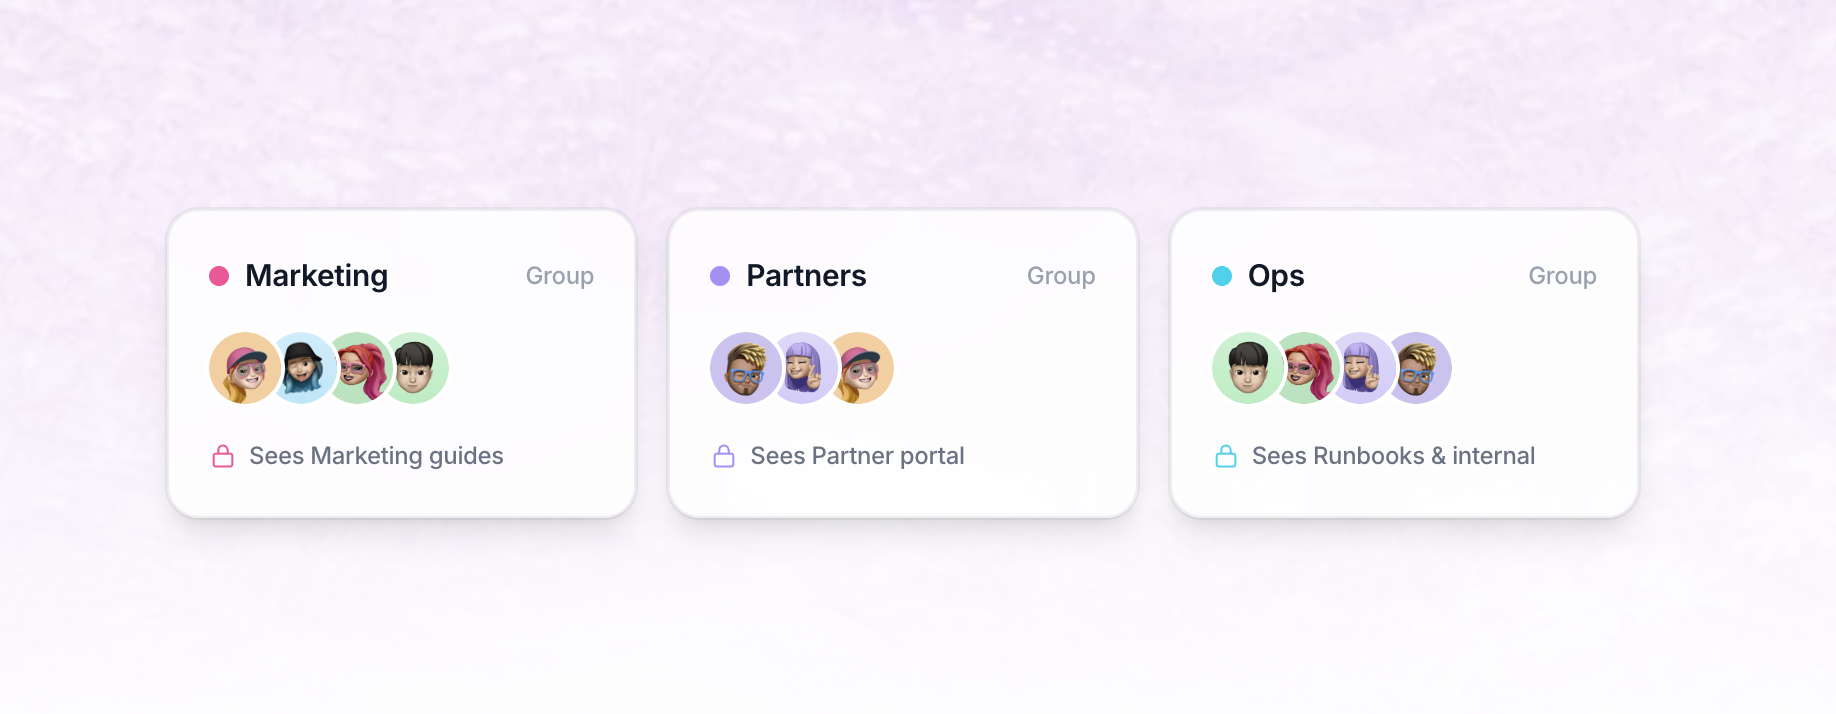
It's perfect for confidential information or role-specific docs. You get flexible control at both article and category level. That makes it easy to manage internal and customer-facing docs in one place.
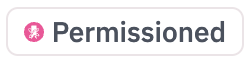
Whenever you're working with Permission groups you'll see the  Permissions icon.
Two Ways to Limit Access
You can restrict access using two types of trait. Get specific with a group, or go broad with a whole role.
Trait Type | Description | Best For |
|---|---|---|
🏃♀️🏃🏃♂️ Permission Groups | Allow access to an entire group of users | Team-based access control |
🎒 Roles | Allow access to an entire role like Editors | Role-based access management |
If an article has more than one group or role, someone only needs to match one of them to get access.
How do I know who has access? 🤔
Just look under Who has access when you manage an article's permissions.
This applies to your team too. Editors and Writers won't see restricted articles they don't have access to. They also won't see categories holding only those articles.
Real-World Use Cases
Why might you want to separate content out? Here are some examples we've seen in the wild 🦁
Use Case | Category Name | User Group | Content Examples |
|---|---|---|---|
📕 Internal Whole Team Content | Internal | Team HelpDocs | Company processes, style guides, feature plans |
📢 Internal Marketing Content | Internal Marketing | Marketing | Blog style guides, analytics process documentation |
🔗 Integration Partners | Partners | Partners | Partner processes, integration guidelines |
Quick Setup Guide
Setting up takes three steps:
- Create a new user group
- Assign that group to a user
- Apply that group to an article
Spotting Articles with Permissions
So you've set Permissioning on an article. How do you and your team tell it's restricted? There are a few places we show it.
Inside the text editor ✍️
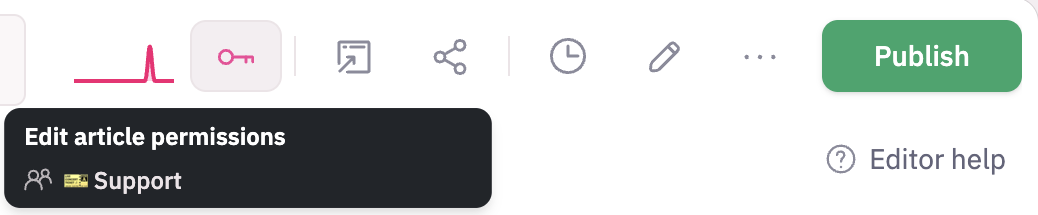
When you're editing an article with permissions you'll see a key icon in the toolbar. Hover over it to see Edit article permissions and the groups that have access.
The color of the key tells you more:
Key Color | Meaning |
|---|---|
Pink | The article has permissions |
Yellow | The article's permissions are different to its category's |
Blue |


In the content view 🪟
When you're browsing articles in the content view you can spot Permissioned articles in a few ways:
Indicator | Where You See It |
|---|---|
Permissioned label | Next to the article meta, like the published status |
Key icon | To the right of the article row |