

When you first start writing articles, you'll notice many advanced features are automatically handled for you. But if you're feeling adventurous and want to customize how things appear on your Knowledge Base, you absolutely can!
What's an article slug?
We're not talking about garden creatures here. A slug is the end of the URL that appears in your address bar 🐌
In the example below, the pink part is automatically generated to prevent URL conflicts (you can turn this off but we don't recommend it). The green part is the slug that you can customize. If another article already uses the slug you type, we'll warn you and link to that article.

What's an article description?
This is a brief preview of your article content, typically a sentence or two that gives visitors a quick idea about the article before they click.
We automatically pull this from your article introduction, but you can customize it to better reflect your content or improve SEO.

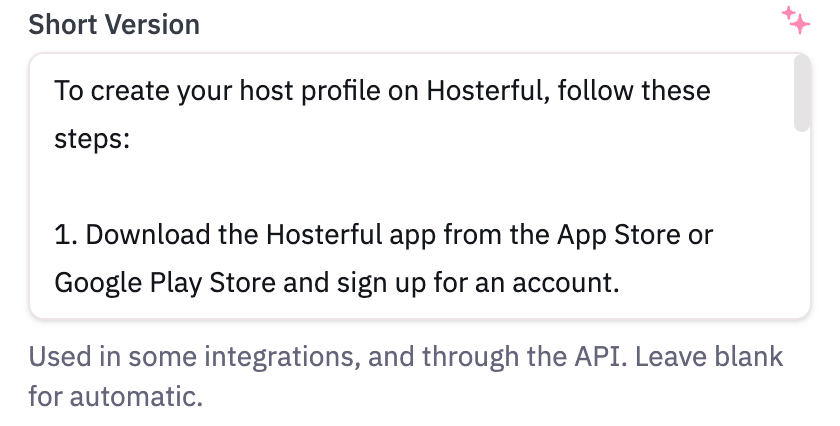
What's the article short version?
The short version is exactly what it sounds like, a condensed version of your article. Leave it blank and we'll create one automatically.
It's available through the API and in custom templates, letting you build custom integrations. It's also used in the Front plugin and Intercom Messenger integrations.
Editing Article Metadata
- Head to your article
- Click
 Article details in the top navigation
- A panel will open where you can edit the Slug, Description, and Short Version. It's also where you set your article's Icon, Tags, Table of Contents, and Featured status
- Hit Apply changes & close
- Hit Save
- Hit Publish to make everything live